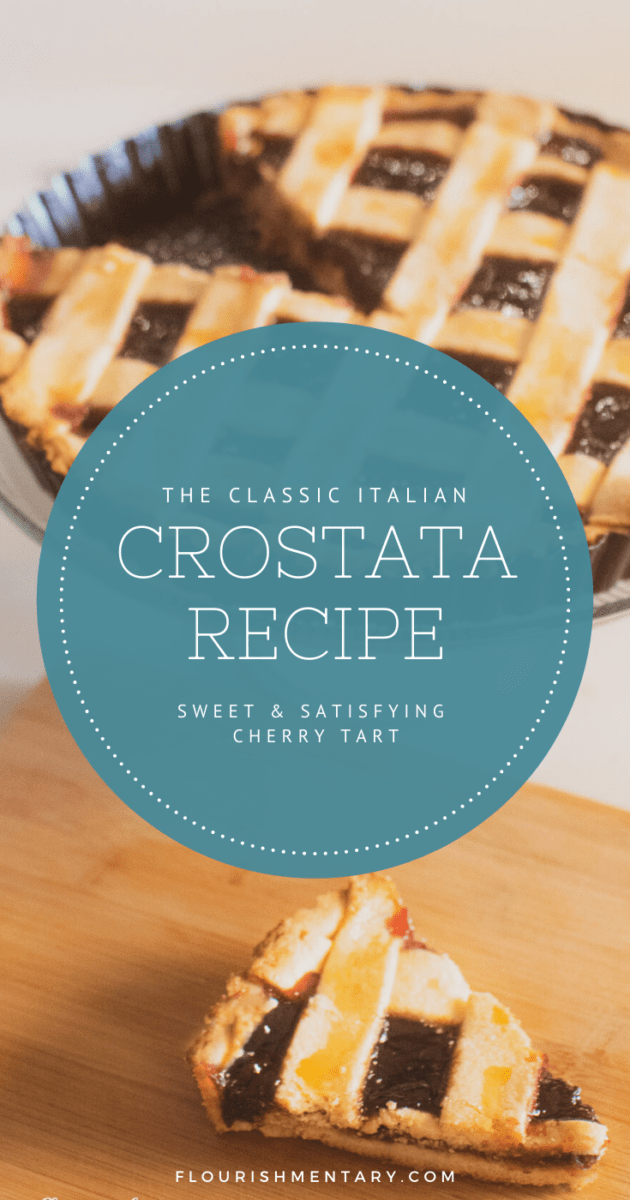
One of my new year’s resolutions a few years back (made directly after an elaborate Italian christmas meal) was to get better at making the food my husband grew up eating. I had mastered the chocolate chip cookie, and it was time to try my hand at the Italian staple: the classic crostata recipe.
With a uniquely soft and lemony crust, these mouth watering tarts are the perfect pick me up. People in Italy love to enjoy them with an morning espresso. And after lunch. Or in my husbands case, anytime possible, until only crumbs are left.
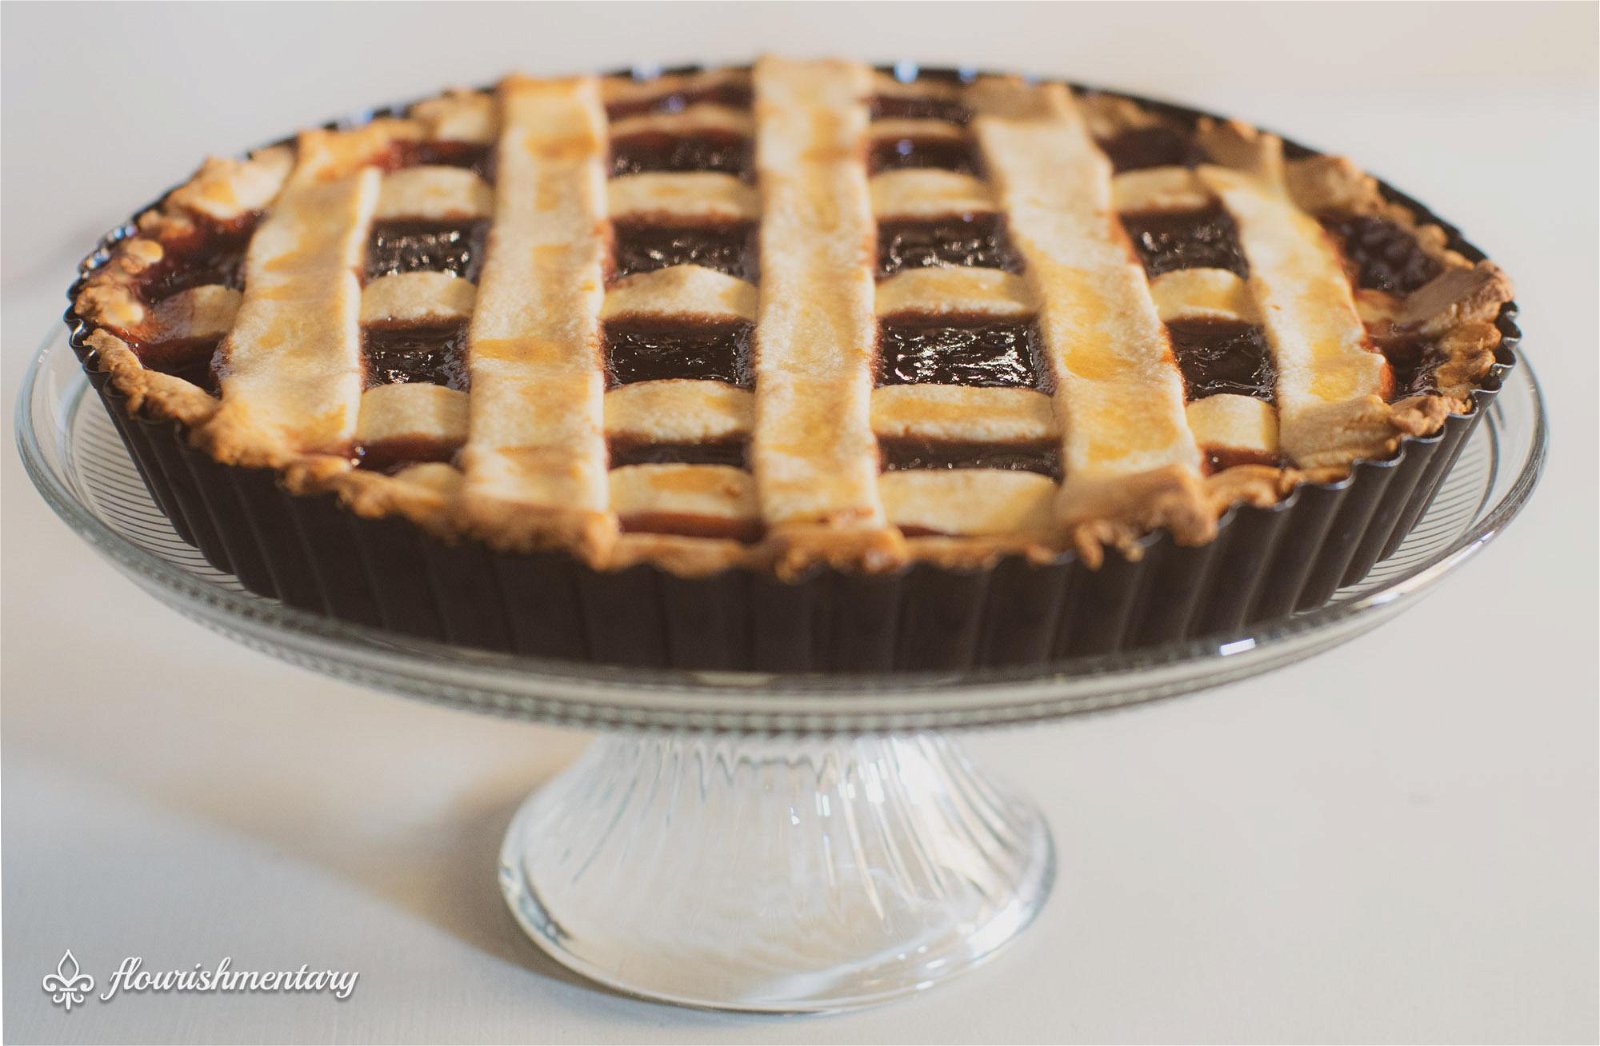
You can find these tarts in all kinds of flavors, from sweet apricot jam to ricotta and chocolate. But my favorite filling of cherry preserves really adds a unique tanginess that perfectly balances the soft lemony “frolla” crust.
I was so happy when I had the chance to make some for my husbands family in Italy. I couldn’t breathe slightly while I awaited their reactions, but this crostata recipe got his 97 year old grandpa’s seal of approval!
Since Italians really pride themselves on perfecting their homemade crostata recipe over the years, he even remarked that I was “too young to have been able to pull it off”. A real accolade in my book!

If you don’t have a stand mixer – fear not. While this trims the time down, you can totally make this recipe with a hand mixer, or by kneading the ingredients together.
If cherry isn’t your thing, substitute your favorite jam or preserves. Store it covered on the counter, and it tastes just as amazing on day three…if it lasts that long!
So, without further adieu, here is a step by step guide for the Classic Italian Crostata.
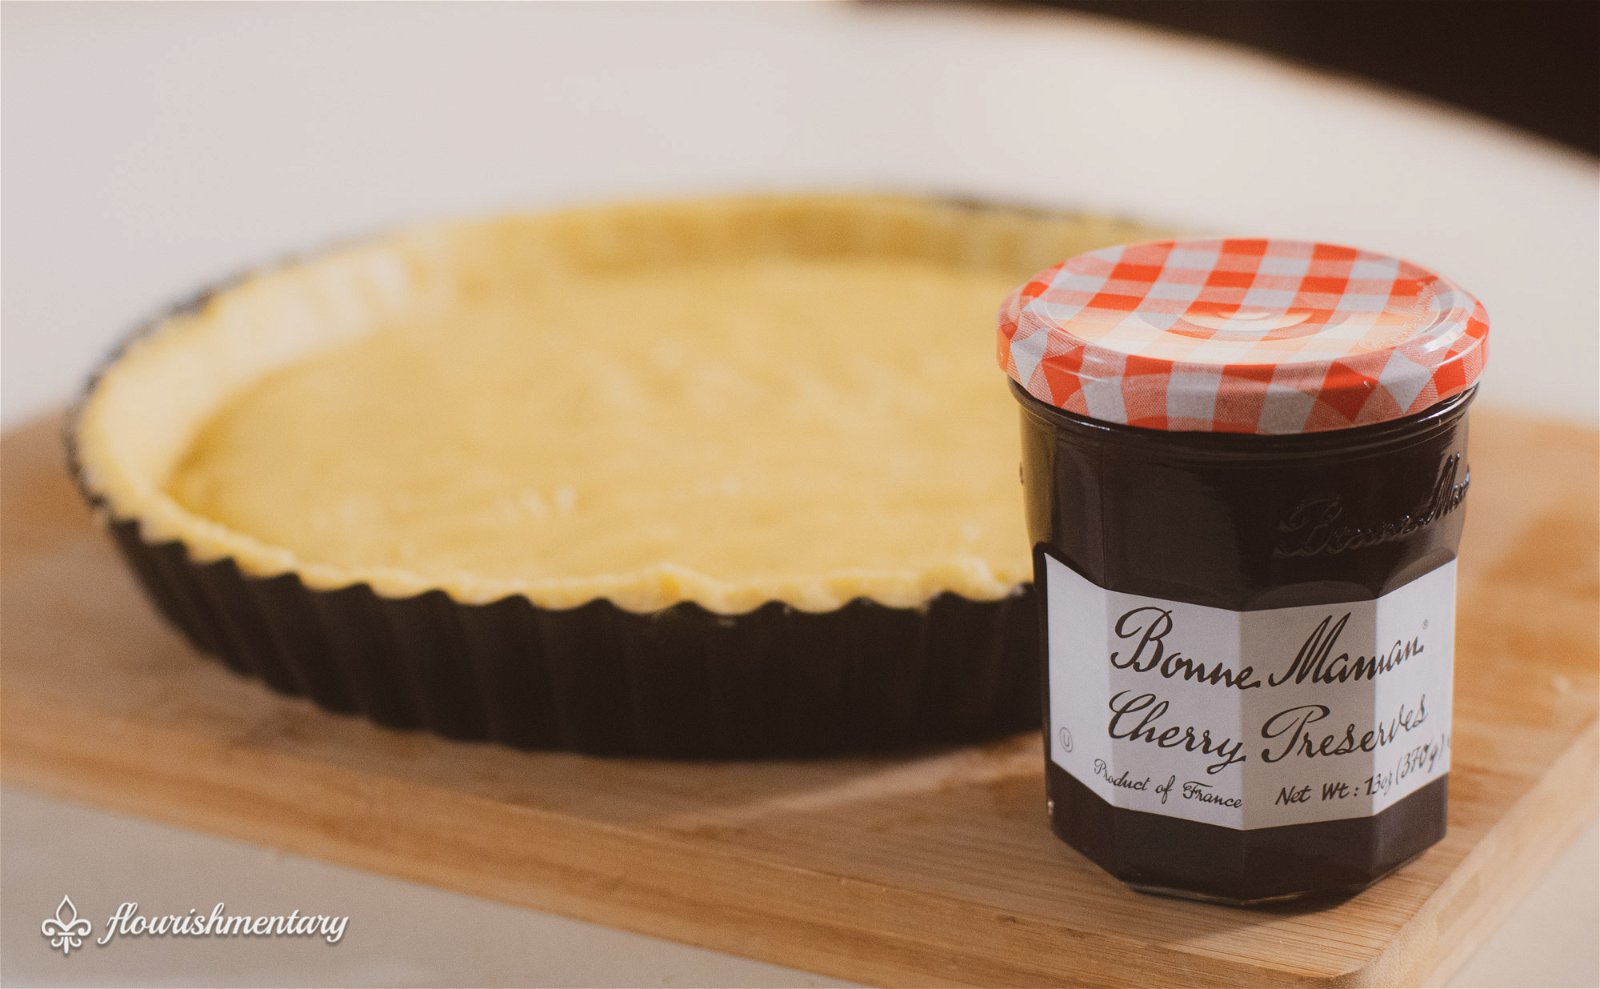
Step 1: Make The Dough
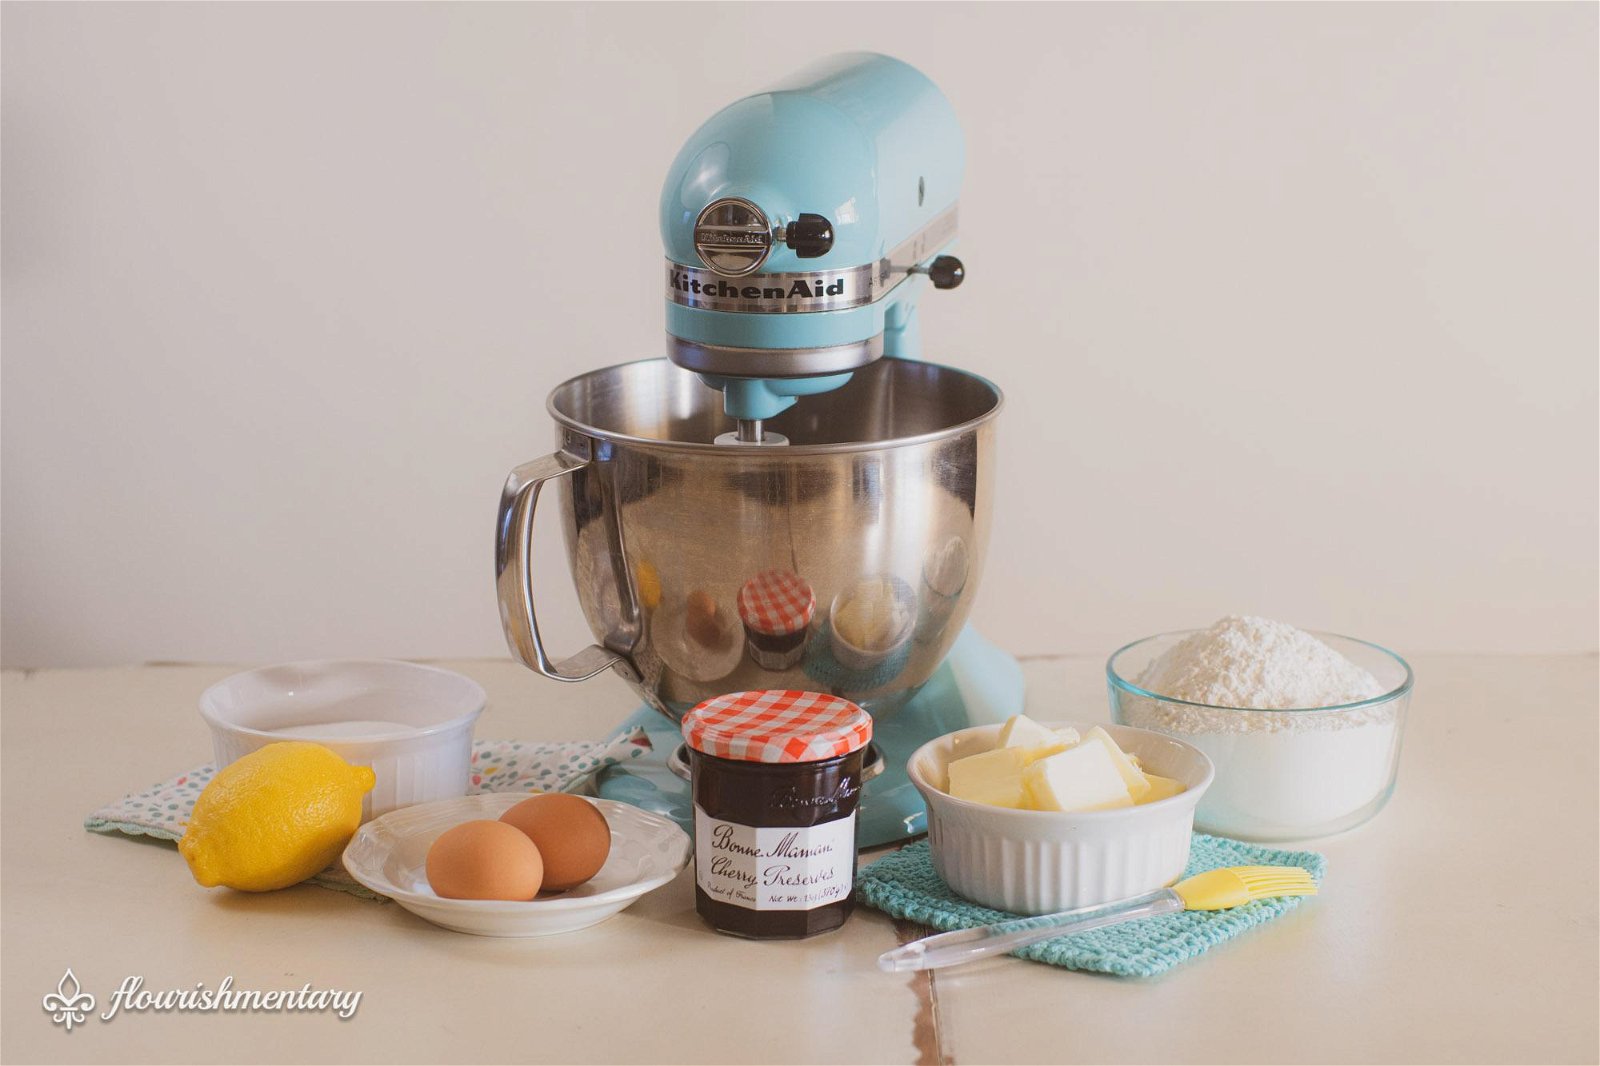
Let the butter and eggs sit out for 5 mins while you gather up all your other ingredients and tools.
Cut your sticks of cold butter into tablespoon size slices. Add your flour to the mixer, and fold in both sticks of butter.
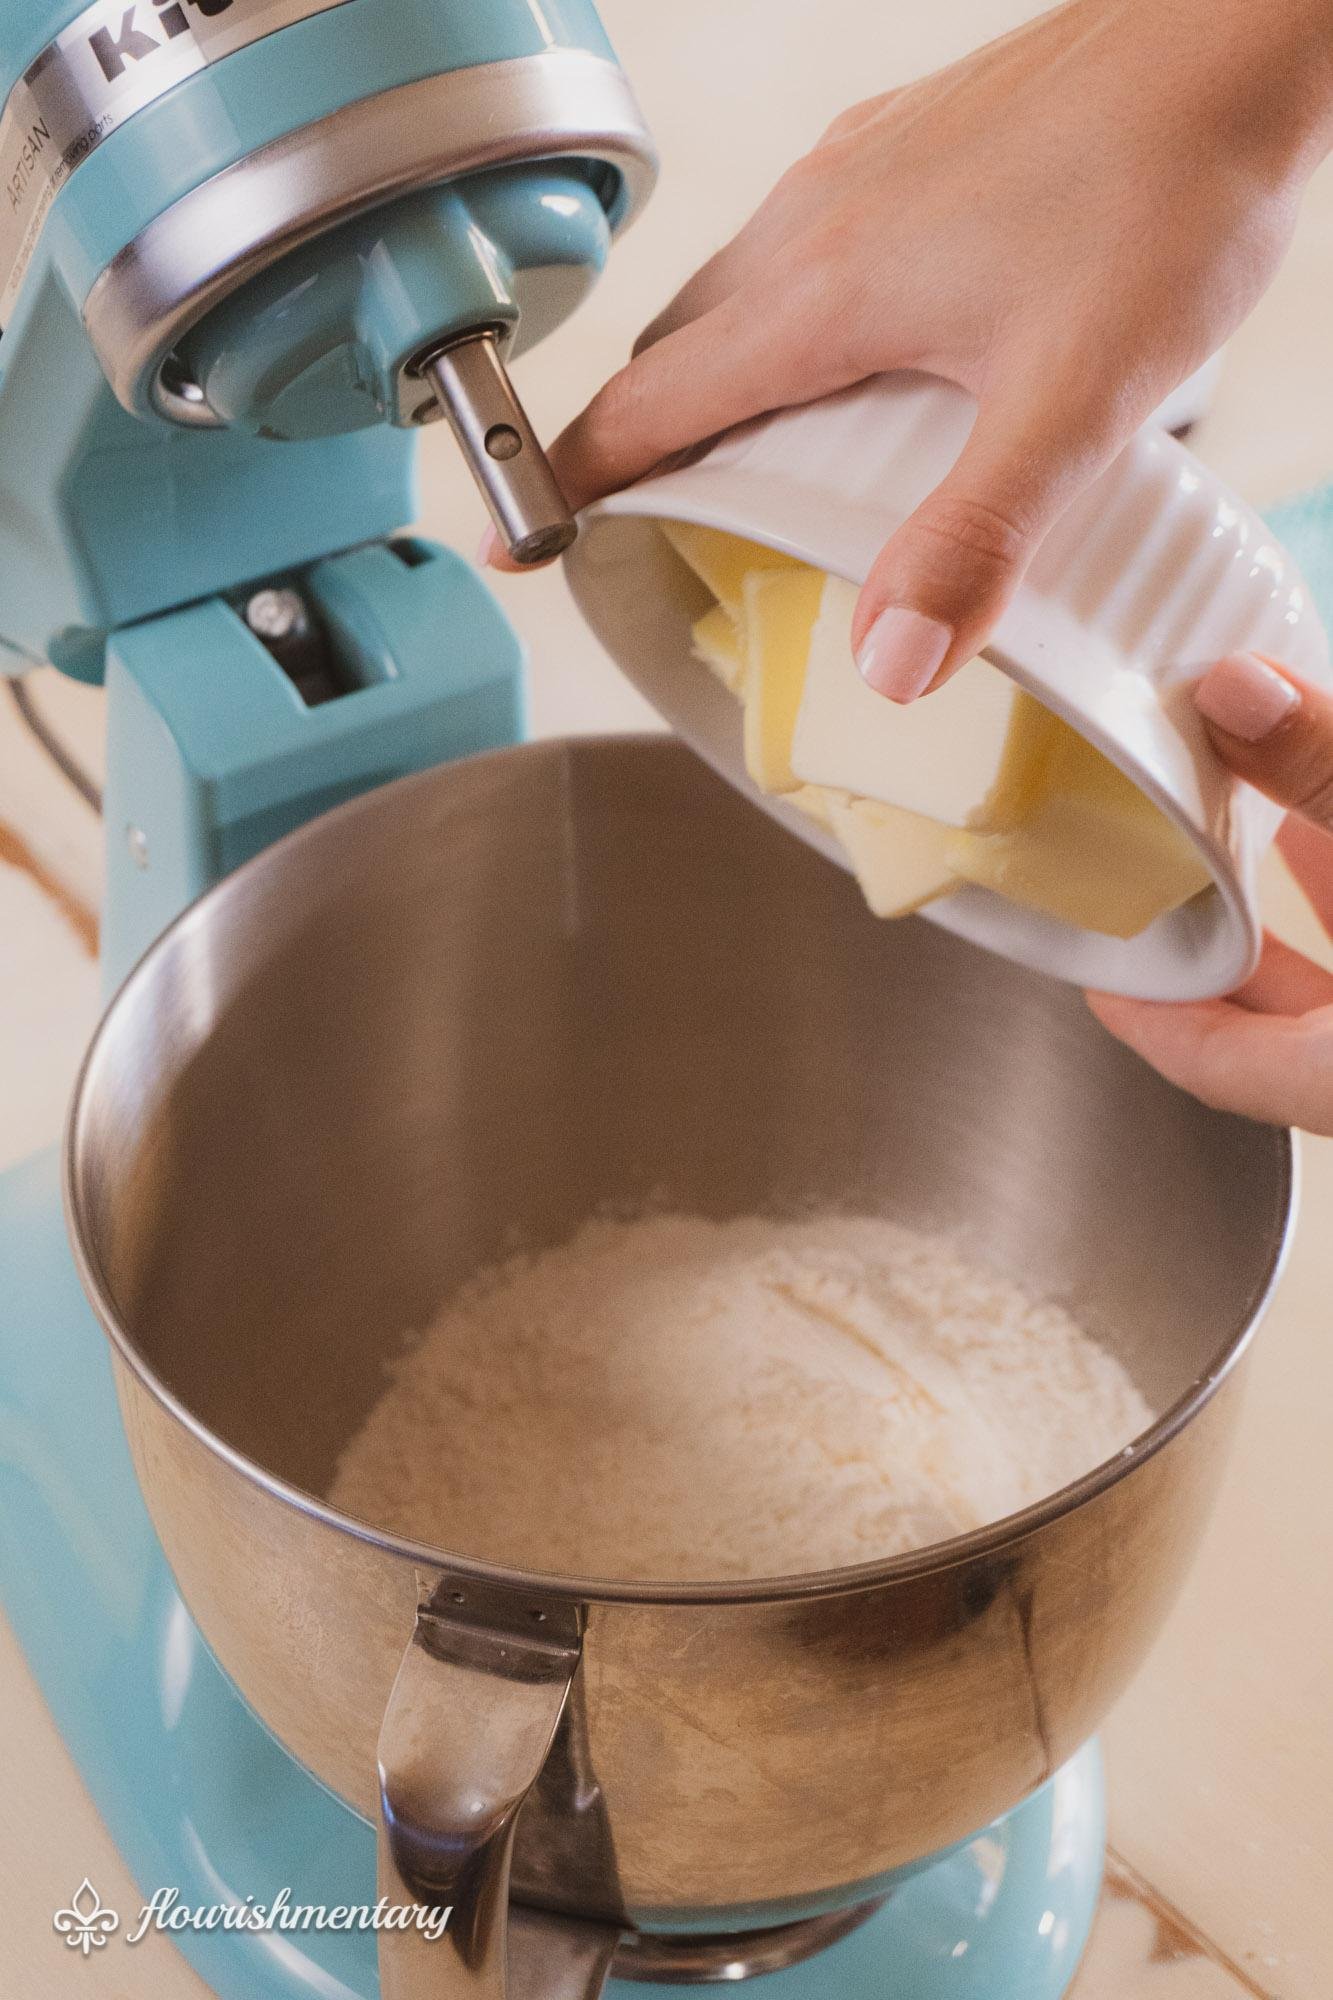
Stir the mixer on low, turning on and off every 7-10 seconds to keep the butter from getting overheated. Continue until it’s fully incorporated and continue until mixture has a sandy texture.
Lightly whip two eggs, and add to mixer. Stir slowly, adding in the powdered sugar a little at a time.

Continue mixing at a slow speed until the eggs are fully incorporated.
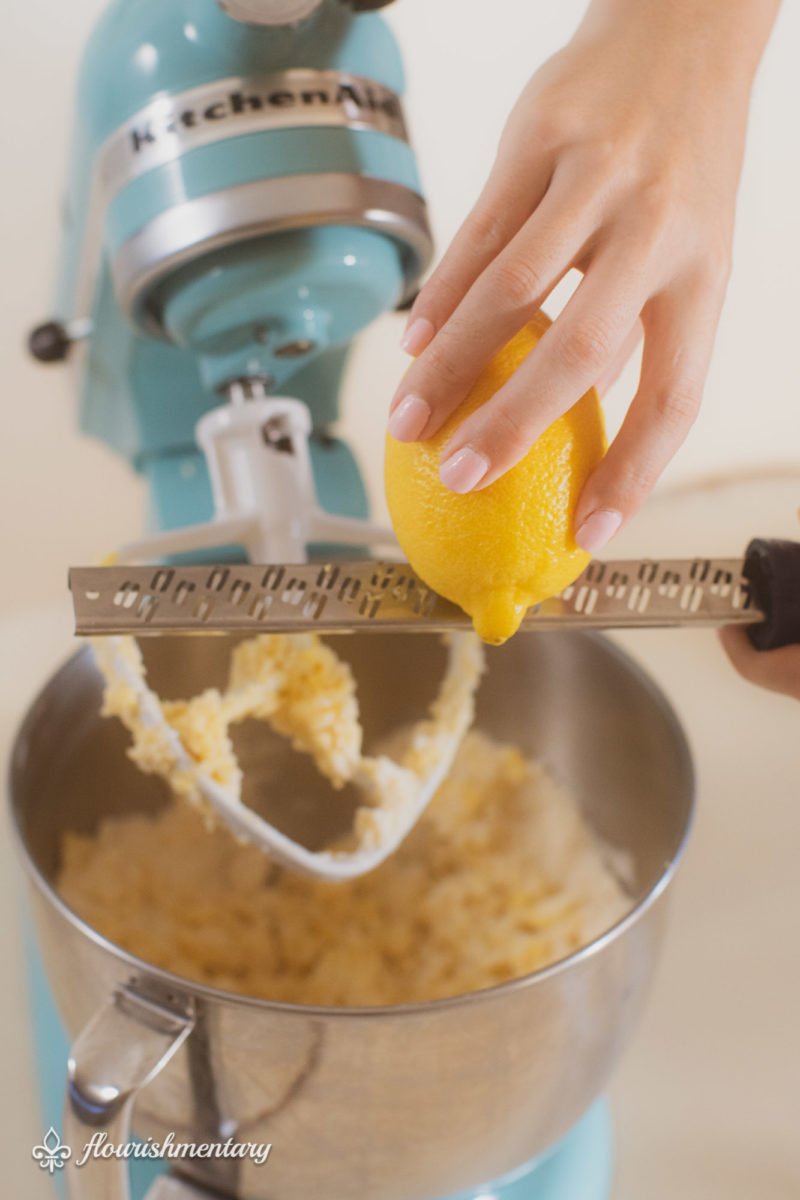
Next, add in zest of one lemon. Stir until the mixture is mostly smooth, and becomes firm.
Move to dough out to table and gently knead the dough for a few minutes, until it’s smooth and totally combined.
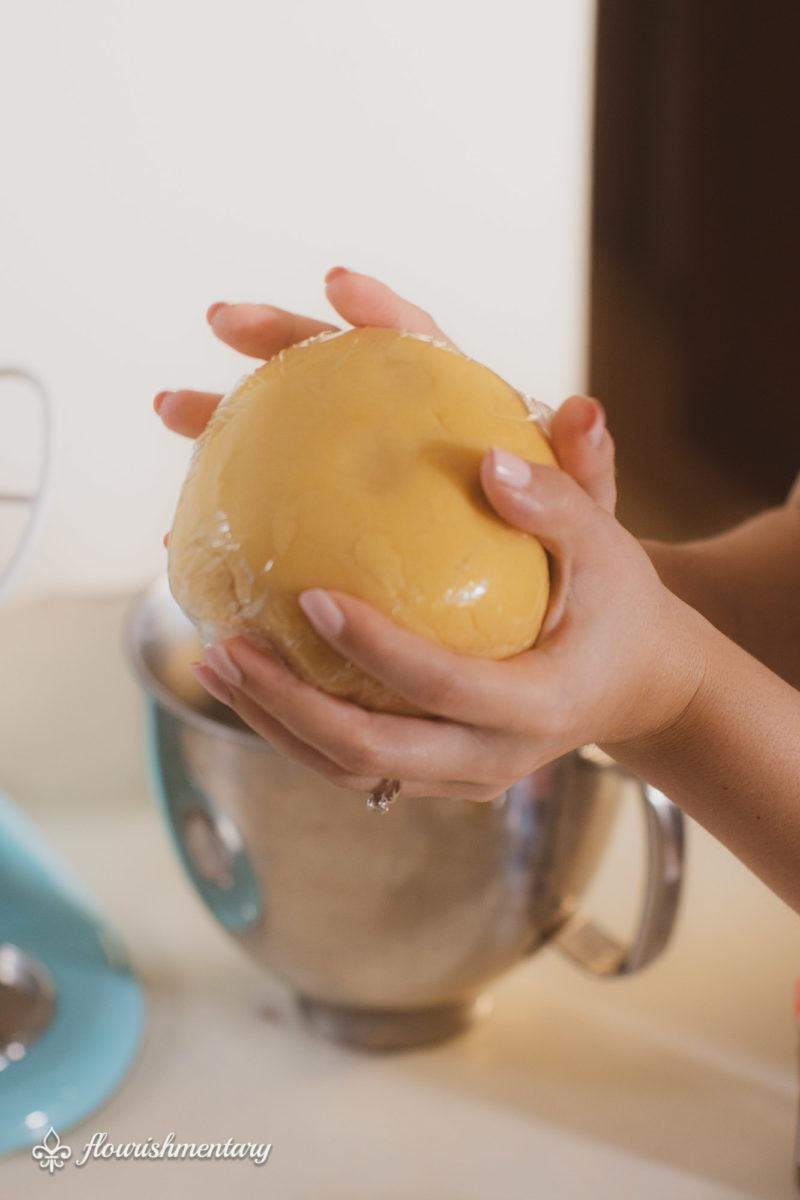
Form the dough into a round ball, and cover with plastic wrap. Place in the fridge to chill for one hour.
#2. Fill Your Pie Pan
Take out your dough from the fridge, and let rest on the counter for a a few minutes.
Start rolling out your crust until about 1/3rd inch thick. I use cling film to keep it from sticking to my surfaces, but your can use flour as well.

Make sure your crusts extends out well past the diameter of your pie pan. This will help you make sure you have enough remaining crust for the top.
Fill your pie pan with the crust. I usually flip the dough or drape it into the base of the dish, and press down firmly around the sides.
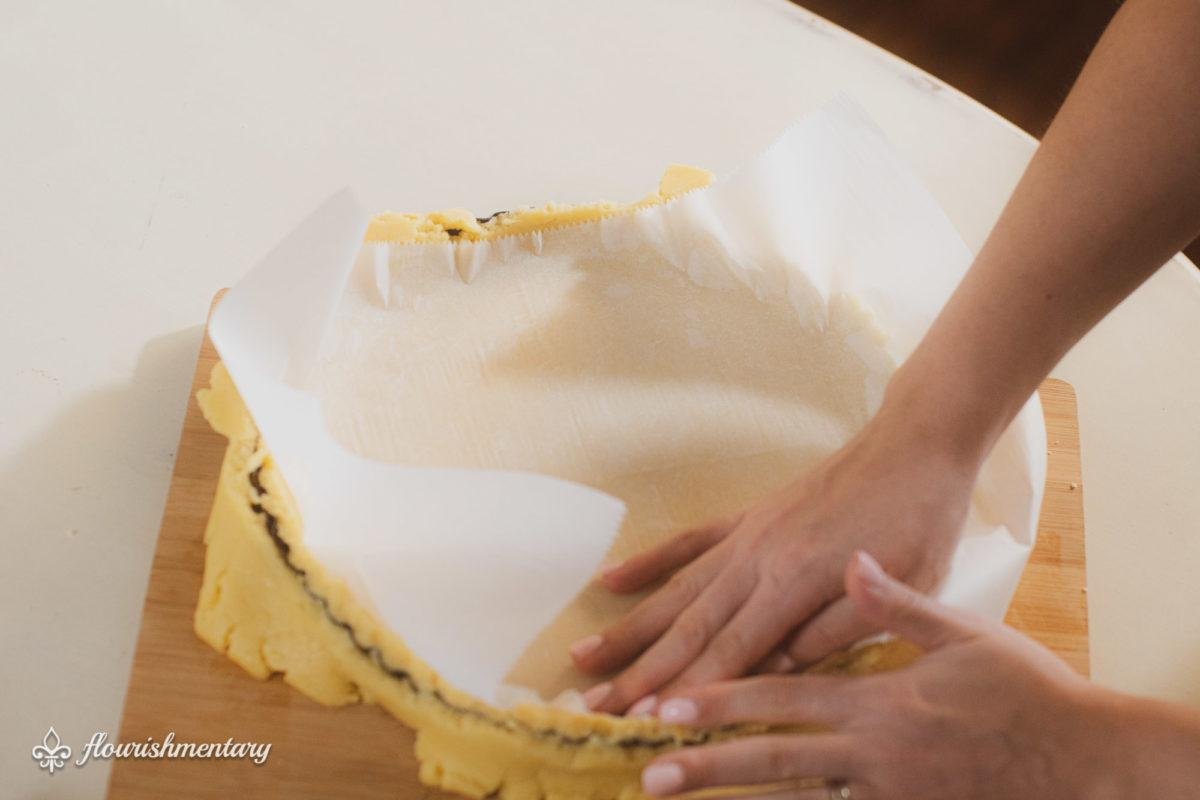
Roll your rolling pin across the top of your pan edges to remove all that extra crust.
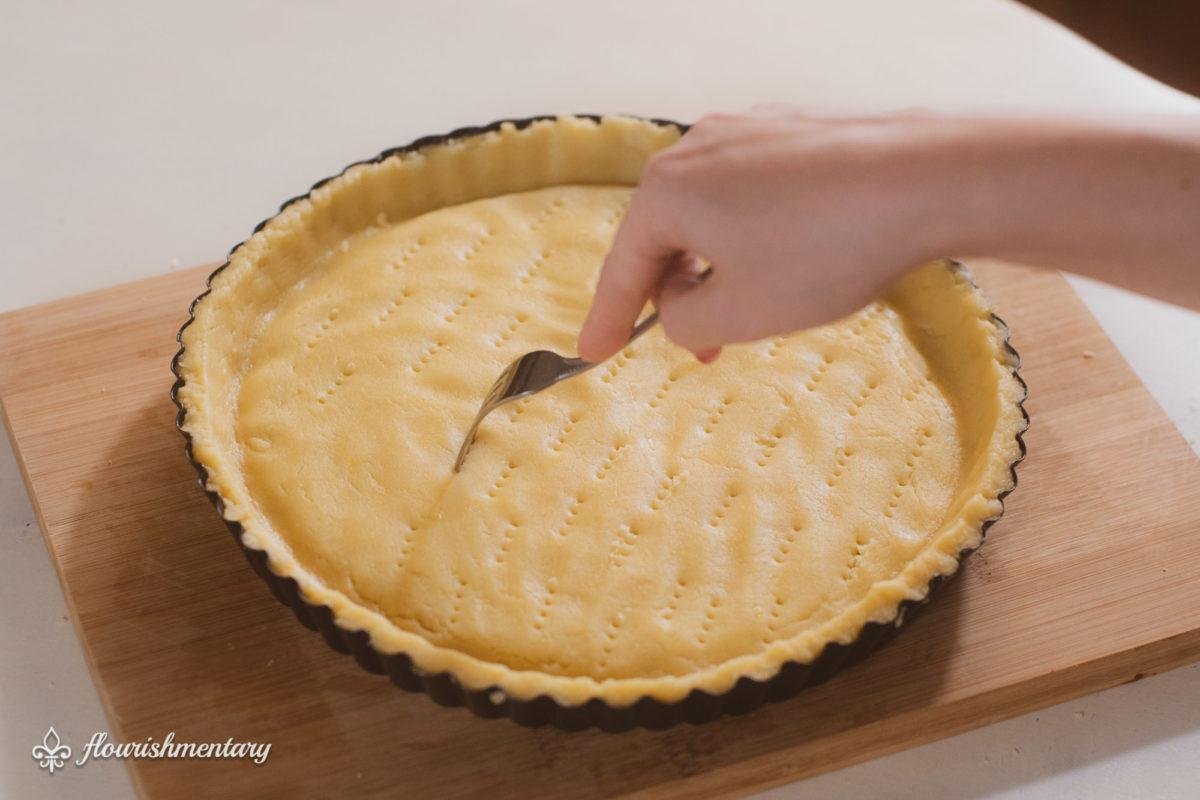
Use a fork to puncture small holes in the crust, across the bottom and the sides of your pie pan.
#3. Top Your Crostata
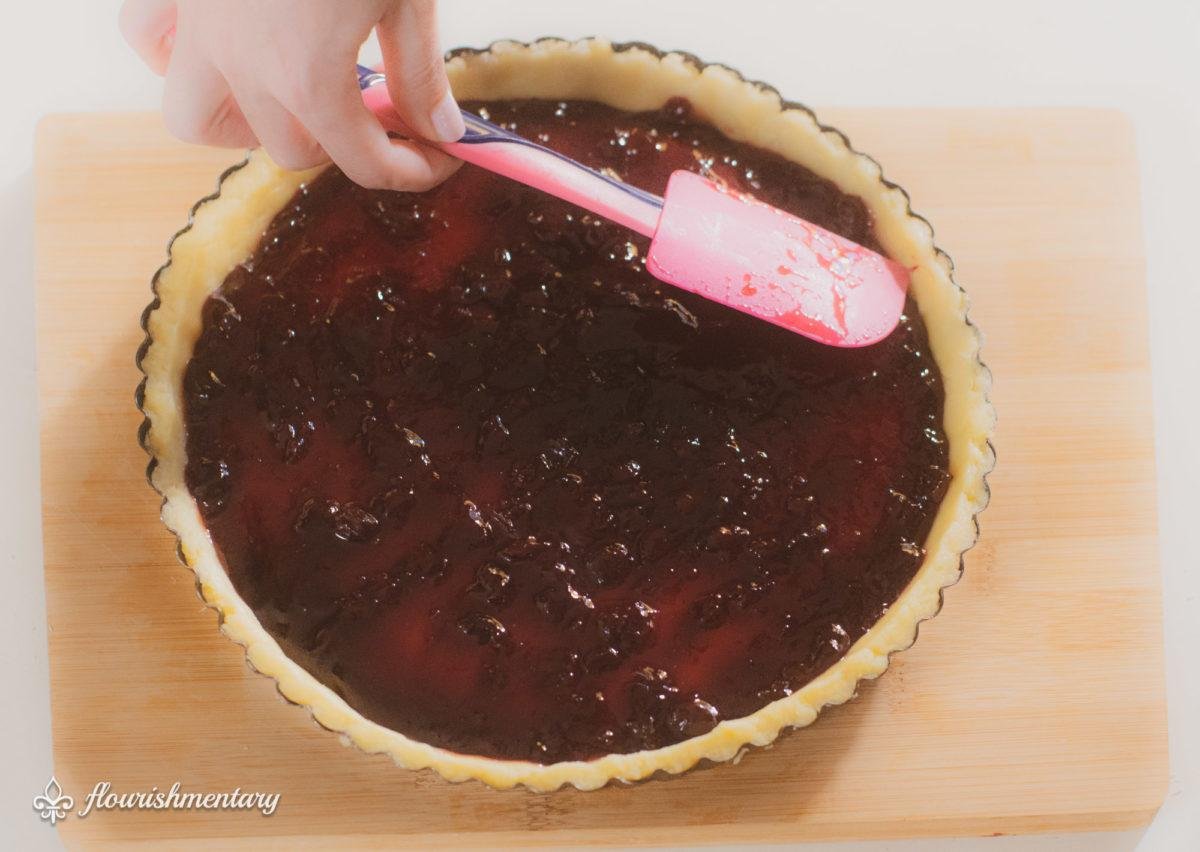
Fill the crust with your jam and spread evenly to the edges.
Roll your remaining crust into a ball, and then flatten into a round sheet with your rolling pin. Aim for the interior dimensions of your pie pan, since the dough will need to reach the rim.
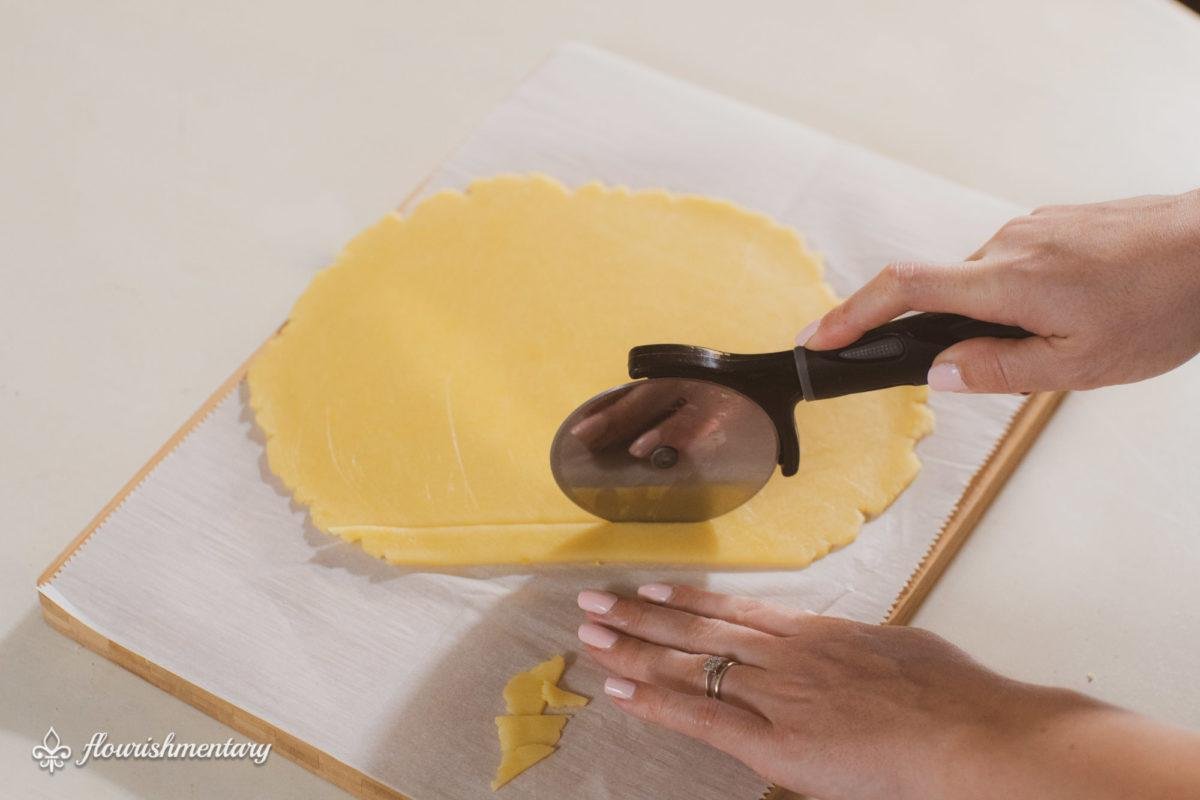
Cut your crust into 10 equal sized strips. I use a pizza cutter, but you can use a pastry cutter or a non serrated knife.
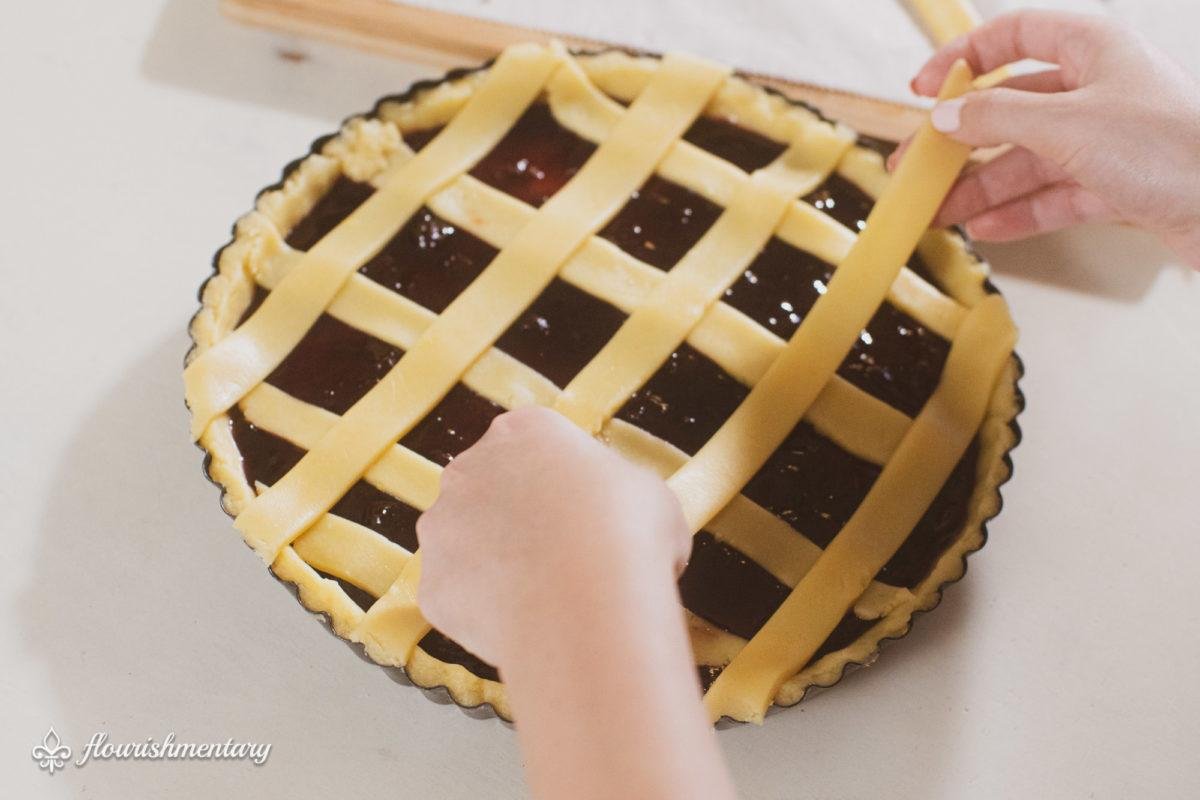
Drape the strips across your crust. Place five across in a single layer, spaced evenly apart. Place another five strips across your pan, running in the other direction.
Trim the excess dough where it reaches the edge of the pan, and press firmly to make a seal.
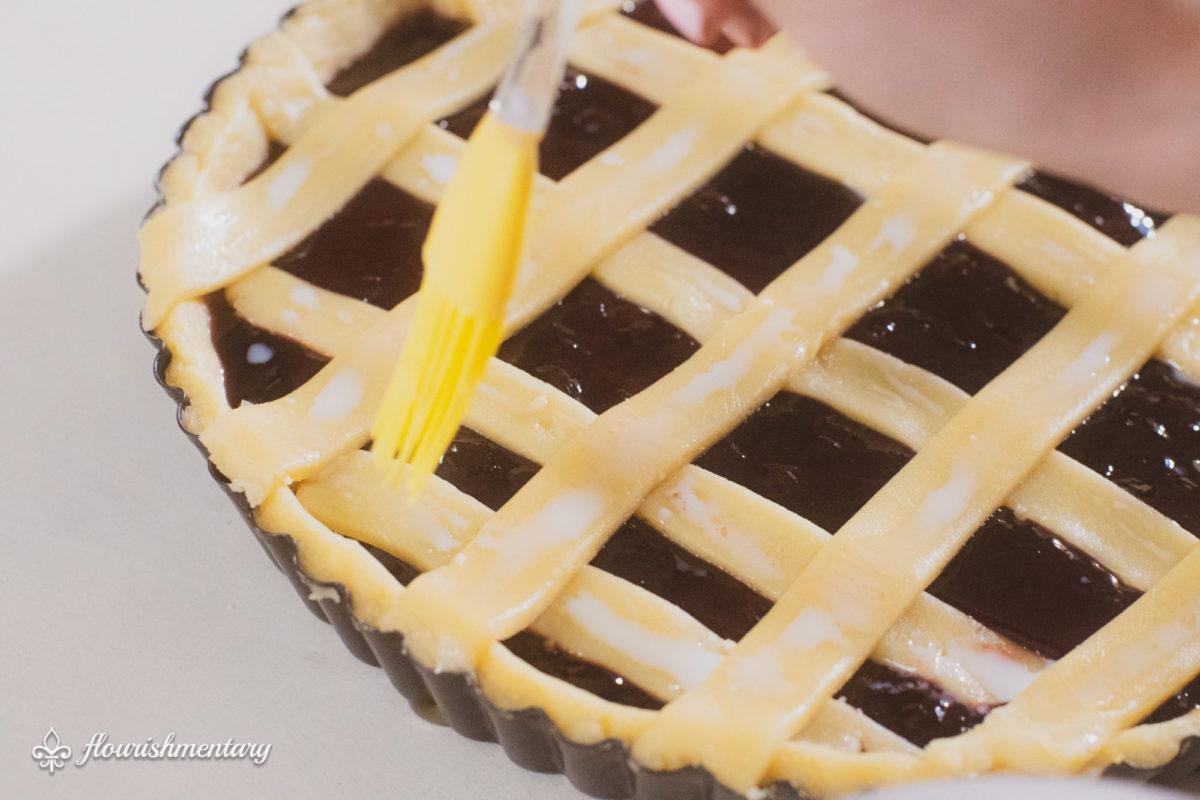
Use a silicone pastry brush whole milk (or your finger) to brush whole milk across the top of your crust.
Step 4: Bake!
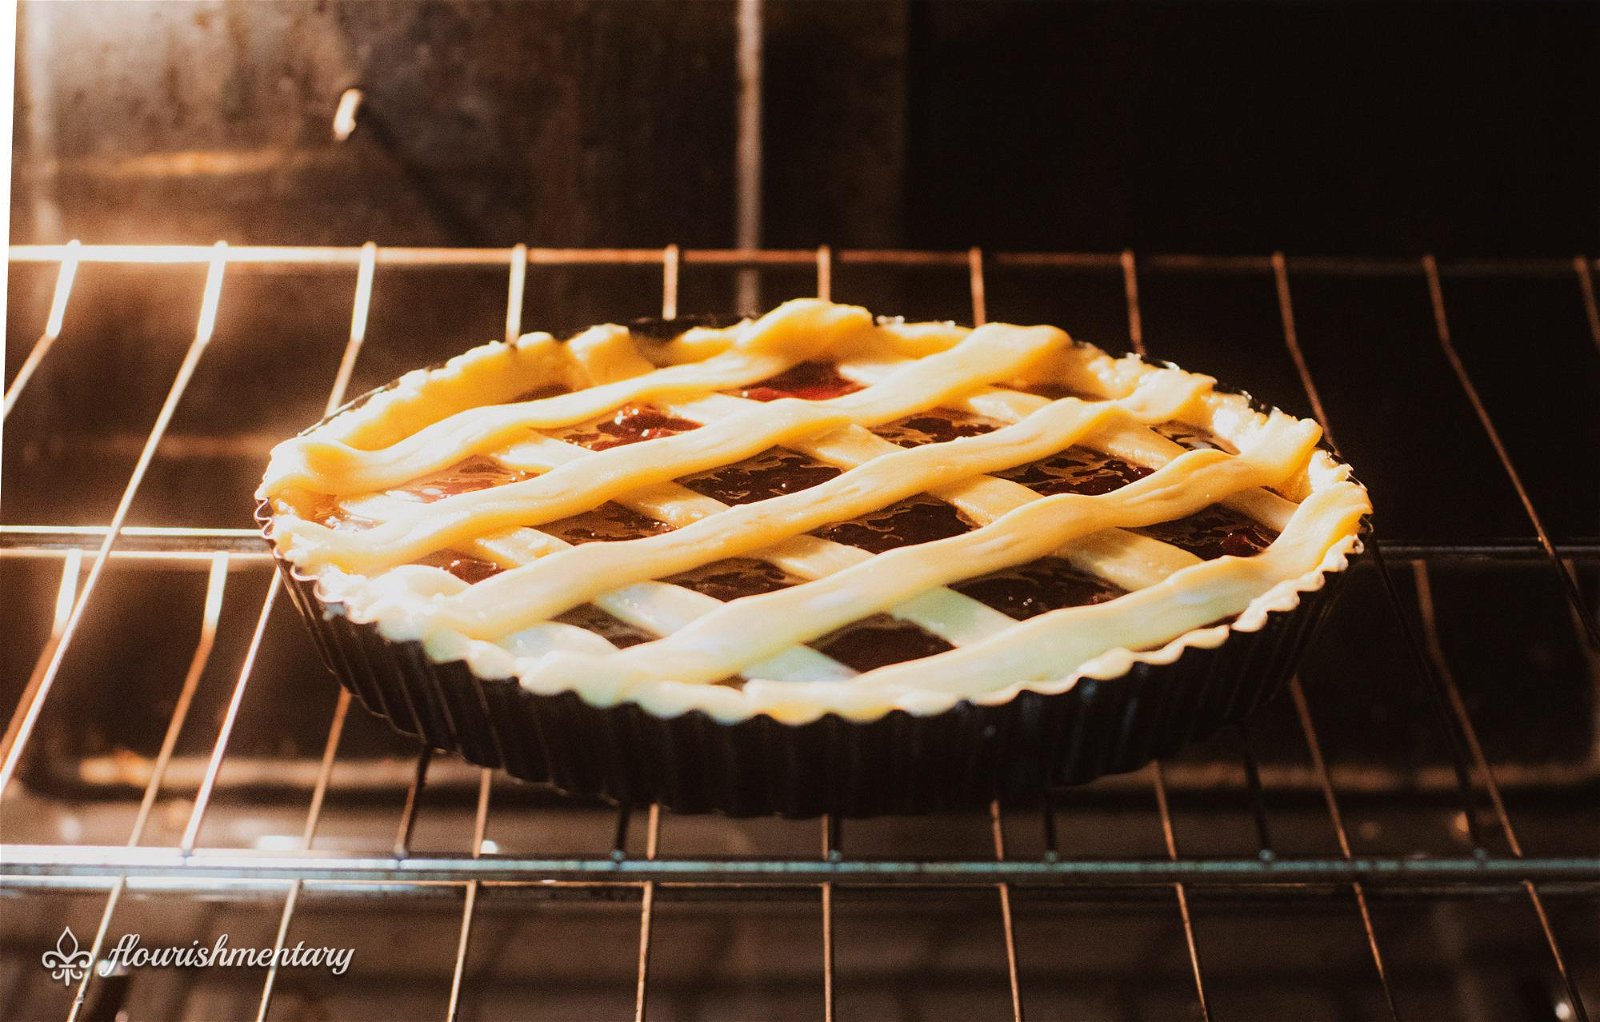
Bake your Crostata in the oven at 340 degrees fahrenheit, for 50-60 minutes. Remove from oven when the crostata has a soft golden color and slightly brown at the edges.
#5. ENJOY!
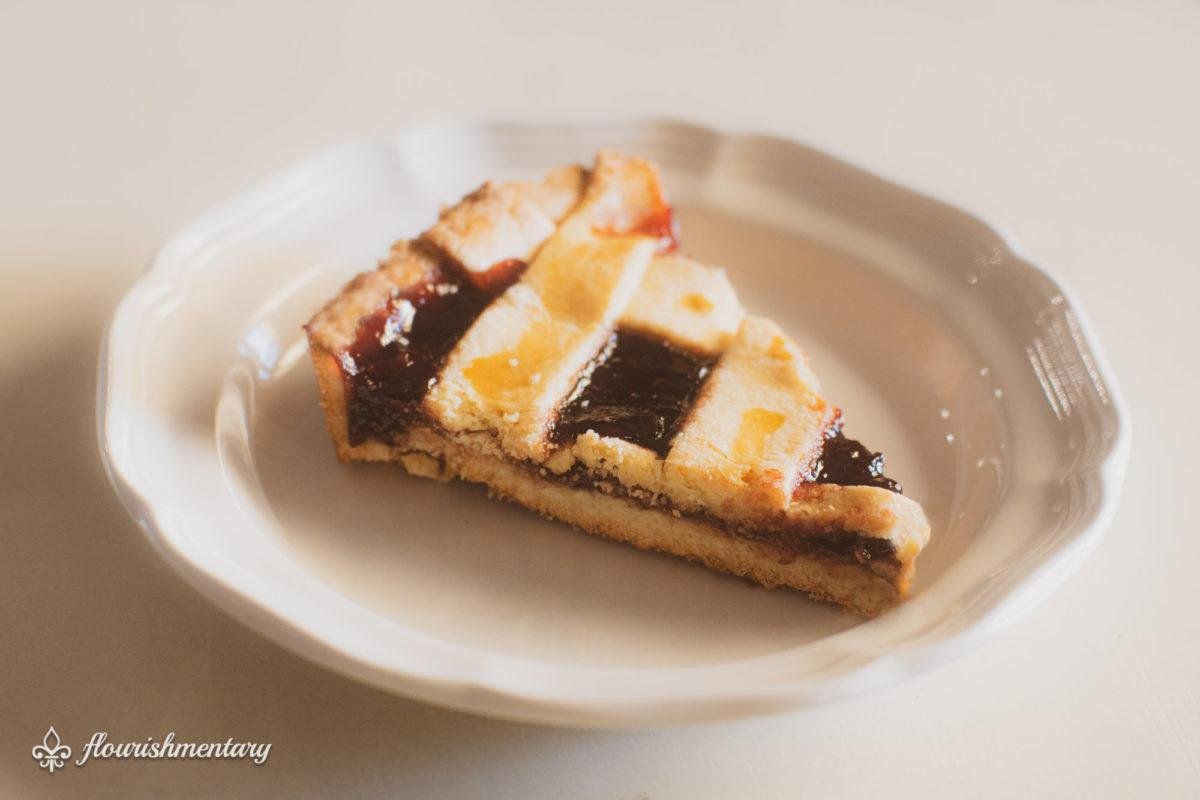
Let it cool. and enjoy your crostata! I usually let them come to room temperature before eating, but they’re also delicious when slightly warm!
It will keep covered, on the counter for a few days. But just know, you may have a hard time keeping it around that long!
I hope you enjoyed my favorite italian crostata recipe! Buon appetito!


Classic Italian Cherry Crostata
Equipment
- Pie Pan
- Rolling Pin
- Stand Mixer or Hand Mixer
- Pastry Brush
- Lemon Zester
Ingredients
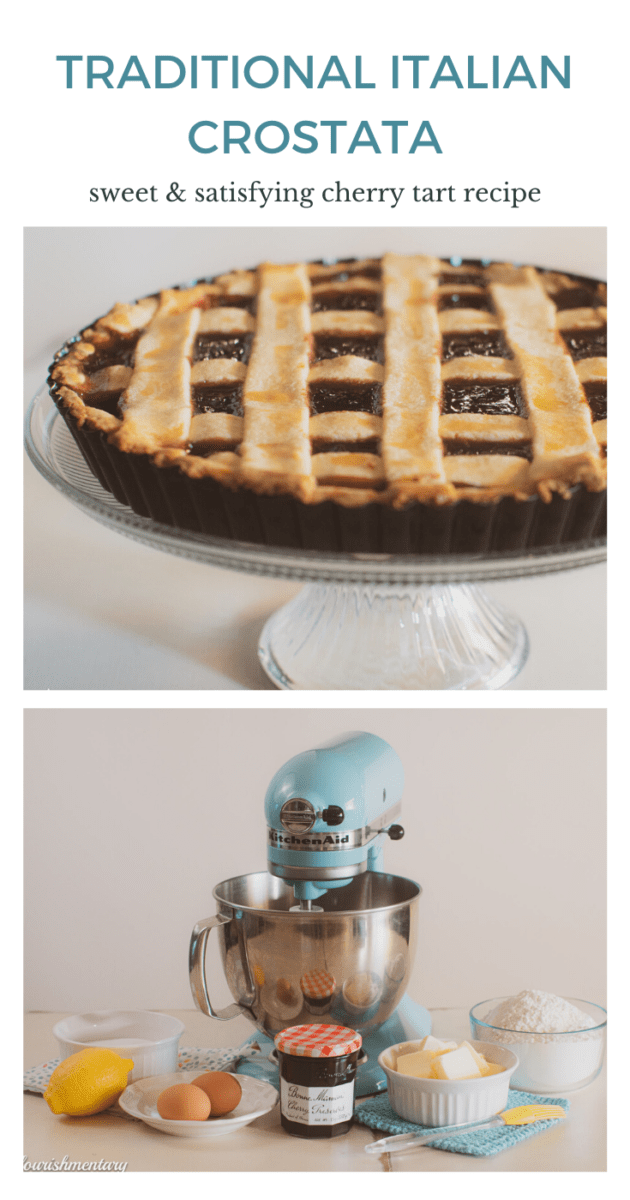
- 2 sticks Butter - chilled
- 2 Eggs
- 1 ¾ cups Powdered sugar
- 13 oz Jar of Bonne Maman cherry preserve
- 3 ¾ cups Flour
- 1 Zest from one lemon
- ⅛ cups Milk
Instructions
- Let your butter and eggs sit out for 5 mins while you gather up all other ingredients and tools, and get them out on the counter.
- Cut your sticks of cold butter into tablespoon size slices. Add your flour to the mixer, and fold in both sticks of butter.
- Turn the mixer on low, and turn on and off every 7-10 seconds to keep the butter from getting overheated. Continue until it's fully incorporated, until mixture has a sandy texture.
- Lightly whip two eggs, and add to mixer. Stir slowly, and add in the powdered sugar a little at a time. Next, add in lemon zest. Stop when the mixture is mostly smooth, and becomes firm.
- Move to dough out to table and gently knead for a few minutes until it's smooth and totally combined. Form the dough into a round ball, and cover with plastic wrap. Place in the fridge to chill for one hour.
Step 2: Fill Your Pie Pan
- Take out your dough from the fridge, and let rest on the counter for a few minutes.
- Start rolling out your crust to a round sheet, until about 1/3rd inch thick. I use cling film to keep it from sticking to my surfaces, but your can use flour as well.
- Make sure your crusts extends out well past the diameter of your pie pan. This will help you make sure you have enough remaining crust for the topping.
- Fill your pie pan with the dough. I usually flip or drape it into the base of the dish, and press down firmly around the side.
- Roll your rolling pin across the top of your pan edges to remove all that extra crust.
- Use a fork to puncture small holes in the crust, across the bottom and the sides of your pie pan.
- Fill the crust with your jam, and spread evenly to the edges
Step 3: Top Your Crostata
- Roll your remaining crust into a ball, and then roll out into a round sheet with your rolling pin. Aim for the interior dimensions of your pie pan, because these need to reach the rim.
- Cut your crust into 10 strips with equal thickness. (I use a pizza cutter, but you as pastry cutter of a non serrated knife.)
- Drape the strips across your crust. Place five across in a single layer, spaced evenly apart. Next, run five strips in the other direction across the top of your pan.
- Trim the excess from the strips, and press firmly where they reach the edges of your pan.
- Use a silicone pastry brush whole milk (or your finger) to lightly brush whole milk across the top of your crust.
Step 4: Bake!
- Bake your Crostata in the fridge for 50 -60 minutes at 340 degrees Fahrenheit. Remove from oven when the crostata has a soft golden color and slightly brown at the edges.
Notes
And if this recipe has you in the mood to look at other Italian food favorites, check out where the the best carbonara in Rome.
- Vintage Kitchen Decor: 11 Easy Ways to Bring In Retro Charm
- Coffee Bar Ideas: 21 Ways to Create a Sophisticated Setup
- 17 Classic Christmas Decor Ideas For Elegance in Every Room
- 10 Simple Bedroom Refresh Ideas for a Whole New Look
- How To Pack A Suitcase Like A Travel Pro: Essential Tips from a Travel Agent




Share Your Thoughts